How to use Puppeteer in a Netlify (AWS Lambda) function
I recently gave a talk at JAMstack_conf San Francisco about how I used headless chrome (via Puppeteer) and Cloudinary to capture screenshots of my interactive caniuse embed. I did this to have a fallback image to use in case the embed couldn’t be loaded, for example in cases where Javascript couldn’t be run.
My talk, which you can watch on YouTube, focused on the code I wrote to capture the screenshot with Puppeteer and upload the screenshot to Cloudinary. Because it was just a 10-minute talk, I didn’t have time to go into where that server-side code was hosted, Netlify.
Using Puppeteer in a Netlify function requires some additional consideration, so in this article, I want to show a stripped down example of how to get everything working.
Puppeteer 101 #
Before getting into the Netlify portion of this, let’s briefly go over what we are trying to achieve with Puppeteer. In order to take a screenshot of a given URL with Puppeteer, we have to go through four steps:
- Launch a new browser
- Open a new page
- Navigate to the given URL
- Capture the screenshot
Here’s what that looks like:
const puppeteer = require('puppeteer');

(async () => {

    // 1. Launch a new browser
    const browser = await puppeteer.launch();

    // 2. Open a new page
    const page = await browser.newPage();

    // 3. Navigate to the given URL
    await page.goto('https://bitsofco.de');

	  // 4. Take screenshot
    const screenshot = await page.screenshot({encoding: 'binary'});

    await browser.close();
})();
From there, we can do whatever we like with the screenshot variable. If you’re interested in seeing how I went from this to Cloudinary, you can read my other article on how to upload a screenshot from Puppeteer to Cloudinary.
Netlify functions 101 #
Now onto Netlify functions. These are node functions that can be called from our frontend website. They give us the power of a backend server, without having to worry about actually creating and maintaining a fully blown API. All we have to do is create a function file, for example take-screenshot.js, and we can call that function by making a request to the URL /.netlify/functions/take-screenshot from our frontend.
Here’s what that looks like. First, we create the take-screenshot.js function file. This typically lives in a functions directory in the Netlify project.
exports.handler = async (event, context) => {
    /* do stuff here */
}
The file exports one function, which is what is called when a request is made to the function. We have access to any arguments passed in the event variable. For example, if we were expecting a string, pageToScreenshot, which would define which URL of page to capture the screenshot of with cloudinary, we would be able to access that from the event.body.
exports.handler = async (event, context) => {
    const params = JSON.parse(event.body);
    const pageToScreenshot = params.pageToScreenshot;
}
To call this function from our frontend, we just need to make a request to the special Netlify functions path, /.netlify/functions/take-screenshot. Note that the name of the function file is used in the URL.
const options = {
    method: "POST",
    headers: {
        "Content-Type": "application/json; charset=utf-8"
    },
    body: JSON.stringify({
        pageToScreenshot: "https://bitsofco.de"
    })
};

fetch("/.netlify/functions/take-screenshot", options);
Putting it all together #
Next, we need to put it all together. Although it should be as simple as moving the Puppeteer logic into the Netlify function file, there are a couple gotchas to be aware of.
Gotcha 1: Puppeteer vs Puppeteer Core #
Netlify functions have a maximum file size of 50MB. This means that we can’t actually use the full Puppeteer node library because it’s too large. Instead, we need to use puppeteer-core, which comes without any headless browser installed. Then we’ll need to add a lite version of chrome to use with it instead.
The two packages we need are puppeteer-core and chrome-aws-lambda.
const puppeteer = require('puppeteer-core');
const chromium = require('chrome-aws-lambda');
We’ll also have to make a few changes to how we configure our browser. When launching the browser, we need to pass an executablePath option, so Puppeteer knows which browser to work with.
const puppeteer = require('puppeteer-core');
const chromium = require('chrome-aws-lambda');

exports.handler = async (event, context) => {

    /* ... */

    const browser = await puppeteer.launch({
        // Required
        executablePath: await chromium.executablePath,

        // Optional
        args: chromium.args,
        defaultViewport: chromium.defaultViewport,
        headless: chromium.headless
    });
}
We can also pass some other optional confirmation options that the chromium package defines as shown above.
Gotcha 2: Local development #
Another thing to be aware of is that this probably won’t work locally. This is because, when working locally, the chromium.headless boolean will likely return false, which in turn means that chromium.executablePath will return null.
The best way I found to get around this is documented in the chrome-aws-lambda Wiki page. They suggest the following changes:
- Install the full
puppeteerpackage as a development dependency - Install
puppeteer-coreandchrome-aws-lambdaas production dependencies - Access Puppeteer via the
chromiumpackage, which will determine which Puppeteer package to use
Here’s what that looks like. First, we install our packages.
npm install puppeteer --save-dev
npm install puppeteer-core chrome-aws-lambda --save-prod
Next, we access Puppeteer via the chromium package, which will determine which of the Puppeteer packages to use.
const chromium = require('chrome-aws-lambda');

exports.handler = async (event, context) => {

    /* ... */

    const browser = await chromium.puppeteer.launch({ /* ... */ });
}
So even though we are installing and saving two different Puppeteer packages to our function project's package.json, we never directly access either package.
Putting it all together (again) #
Finally, we’re done! This is what the final take-screenshot.js function file looks like:
const chromium = require('chrome-aws-lambda');

exports.handler = async (event, context) => {

    const pageToScreenshot = JSON.parse(event.body).pageToScreenshot;

    const browser = await chromium.puppeteer.launch({
        executablePath: await chromium.executablePath,
        args: chromium.args,
        defaultViewport: chromium.defaultViewport,
        headless: chromium.headless,
    });

    const page = await browser.newPage();

    await page.goto(pageToScreenshot);

    const screenshot = await page.screenshot({ encoding: 'binary' });

    await browser.close();

    return {
        statusCode: 200,
        body: JSON.stringify({
            message: `Complete screenshot of ${pageToScreenshot}`,
            buffer: screenshot
        })
    }

}
To illustrate how it all works, I put together a simple website to demo all of this.
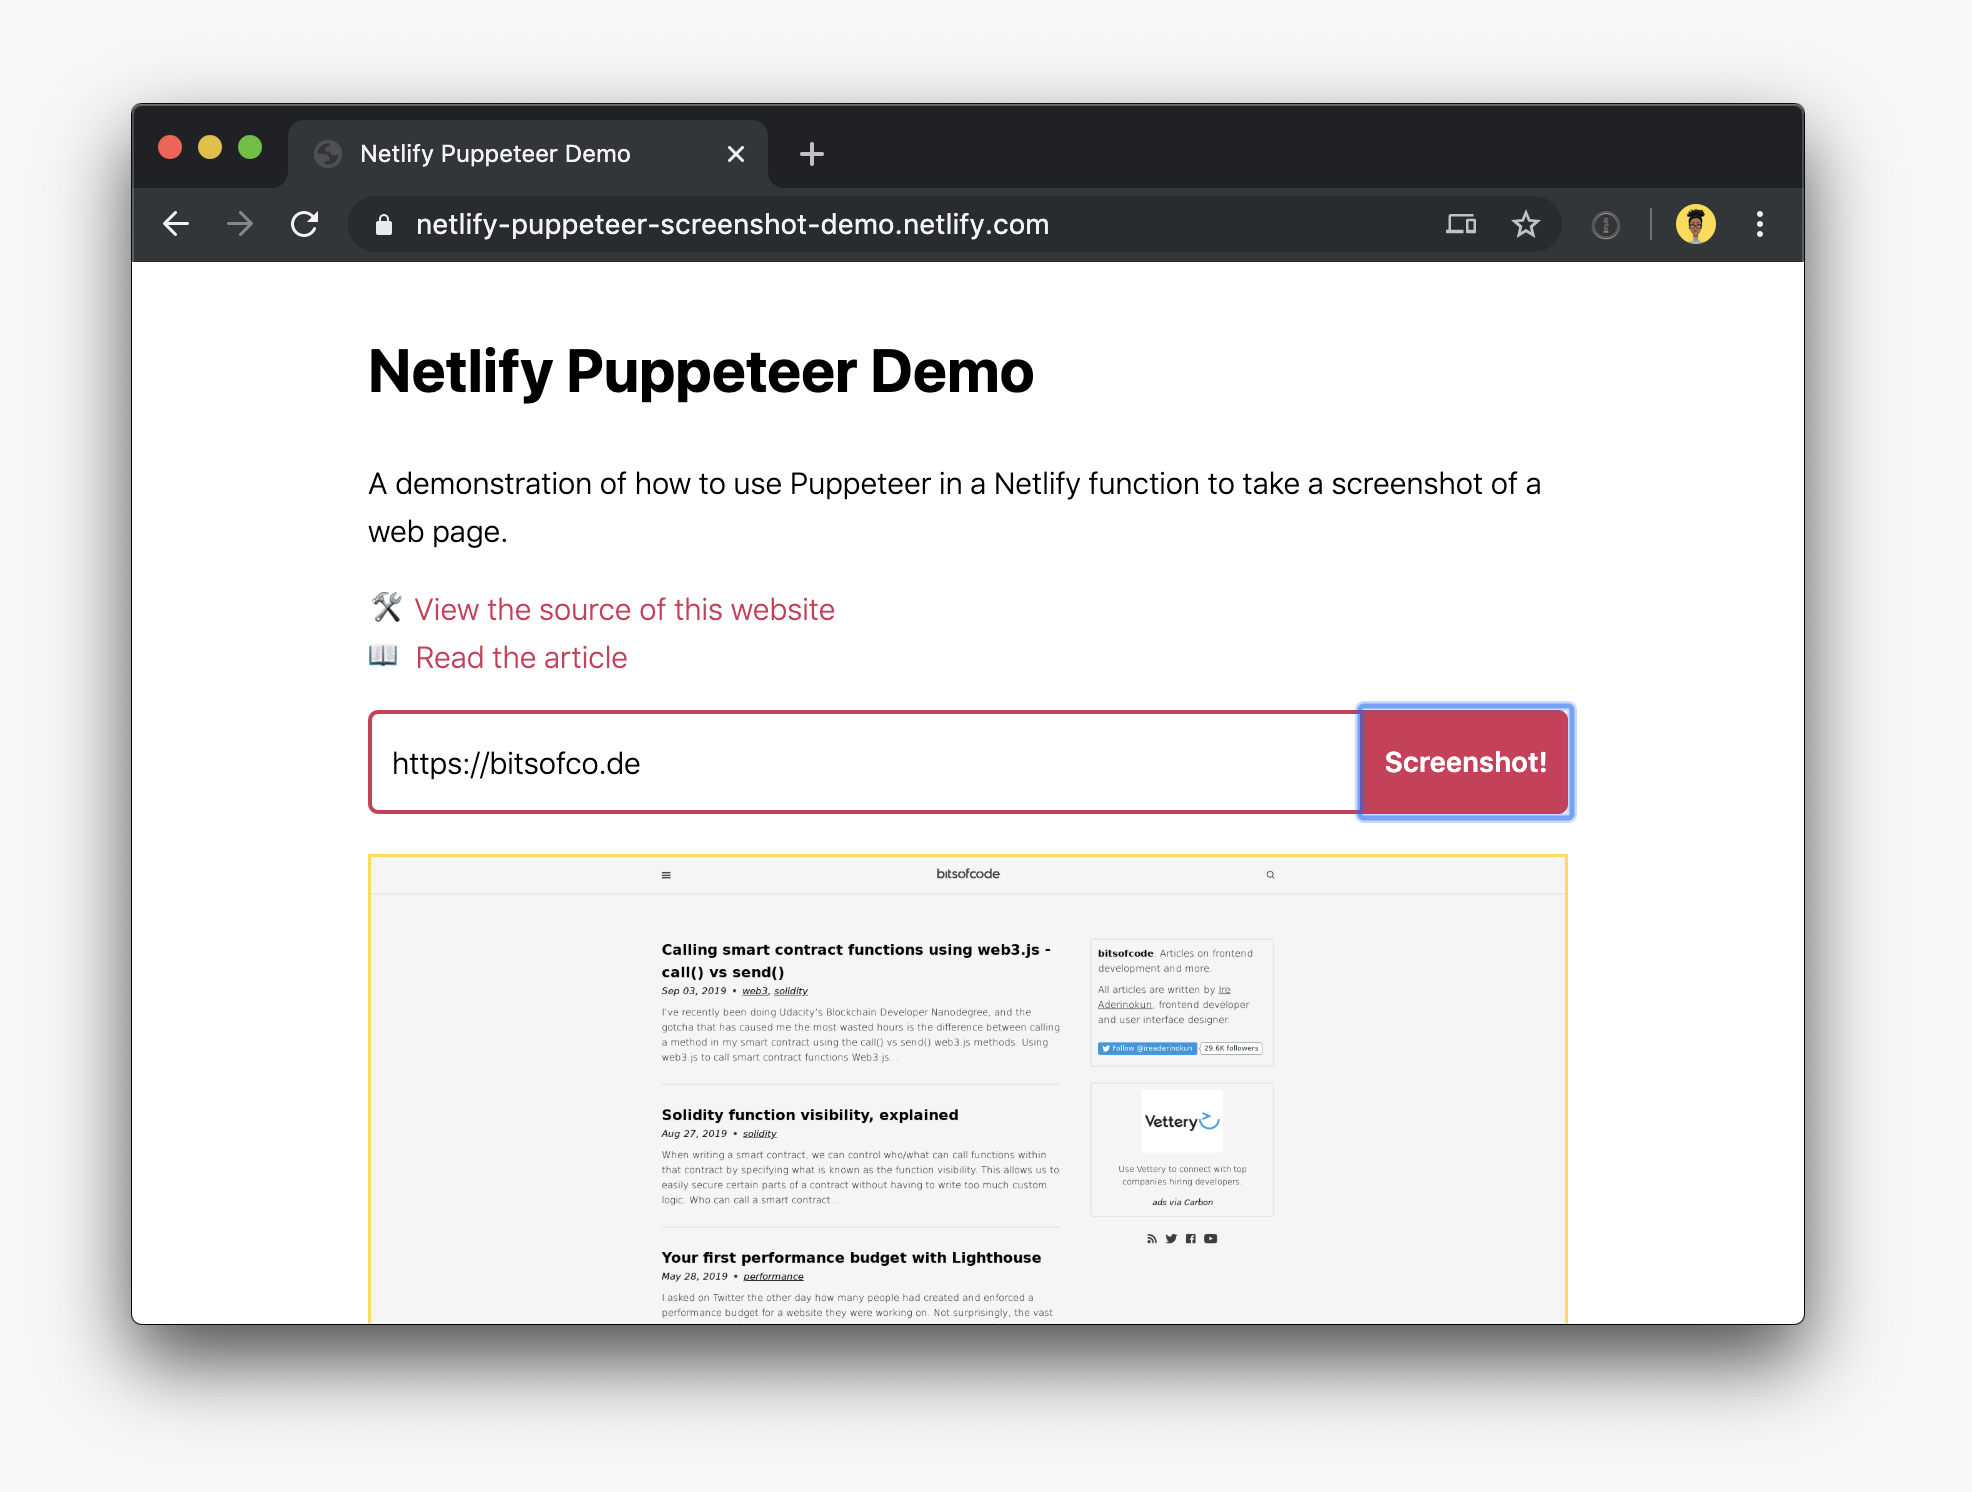
You can visit the site at netlify-puppeteer-screenshot-demo.netlify.com and view the source code on GitHub.