A Gulp Workflow for Building HTML Email
Every week when I publish a new article to this site, I use MailChimp to send out an rss-based newsletter with the latest article to people subscribed. I designed and built the template for this newsletter and, as you would expect, it was quite a process. I was initially using Jekyll and going a lot of things manually, but the whole process was just really a mess. So, I have been working on creating a gulp workflow for building HTML emails.
I needed this workflow to enable me to do a few things -
- Have templating and partials to enable splitting up of the template files
- Compile SASS files to CSS (optionally include PostCSS for additional features)
- Inline the compiled CSS
- Allow for an additional CSS file that is embedded in a
<style>element, not inlined - Easily test with real data
You can get the workflow files here. It comes with a simple responsive MailChimp template to get started.
If you are completely new to Gulp, you should check out this Simple Gulp Workflow to give you a quick introduction into how it works.
The Folder Structure #
Here is how the working directory is structured, including the default files -
— gulp-email-workflow/
	— src/
		— data/
			— mailchimp.json
		— emails/
			— index.nunjucks
		— sass/
			— inline.scss
			— embedded.scss
		— templates/
			— mailchimp.nunjucks
			— partials/
				— header.nunjucks
				— footer.nunjucks
	— build/
		— css/
			— inline.css
			— embedded.css
		— index.html
	— gulpfile.js
	— package.json
The src/ directory contains all the working files. The templates are contained in the templates/ directory, as well as any partials. The two main SASS files, inline.scss and embedded.scssare contained in the sass/ directory. Any global data is held within the data/ directory. By default, there is one file, mailchimp.json which contains global information about the mailchimp campaign. Finally, the emails/ directory holds the actual emails being created, based off the templates.
The build/ directory contains the final output. This includes the CSS (both the files that are inlined or embedded) as well as the raw HTML.
Setting up Templating, Partials, and Custom Data #
To enable templating and use of partials, I used nunjucks. Nunjucks is a really great templating language developed by Mozilla for JavaScript. To pass global data to the template files, I use the gulp-data plugin.
Here is the nunjucks gulp task -
var nunjucksRender = require('gulp-nunjucks-render');
var data = require('gulp-data');

var globalData = {
    mailchimp: require('./src/data/mailchimp.json')
};

gulp.task('nunjucks', ['sassEmbedded'], function() {
    return gulp.src('src/emails/*.nunjucks')
        .pipe(
            data(function() {
                return globalData;
            })
            .on('error', gutil.log)
        )
        .pipe(
            nunjucksRender({
                path: ['src/templates/', 'build/css/']
            })
            .on('error', gutil.log)
        )
        .pipe(gulp.dest('build/'));
});
This task does a few things -
- Wait for the
sassEmbeddedgulp task to be completed first. This is because, before we include the embedded.css file in the template, we want to make sure that it is the compiled CSS first - Looks at the email files in
src/emails/*.nunjucks - Passes those files the mailchmp data from
/src/data/mailchimp.json - Generates the HTML page based on the templates and partials in the
src/templates/andbuild/css/directories - Builds the completed files into the
build/directory
SASS Compilation (with Post CSS) #
I use Ashley Nolan’s method of combining SASS with PostCSS. This allows us to make use of PostCSS processors, while still writing SASS.
Here are the two gulp tasks for the inline SASS and the embedded SASS -
var sass = require('gulp-sass');
var postcss = require('gulp-postcss');
var scss = require('postcss-scss');
var autoprefixer = require('autoprefixer');
var postcssProcessors = [
    autoprefixer( { browsers: ['last 2 versions', 'ie > 10'] } )
]

gulp.task('sassInline', function(callback) {
    return gulp.src('src/sass/inline.scss')
        .pipe(
           postcss(postcssProcessors, {syntax: scss})
        )
        .pipe(
            sass({ outputStyle: 'expanded' })
            .on('error', gutil.log)
        )
        .pipe(gulp.dest('build/css/'));
});

gulp.task('sassEmbedded', function(callback) {
    // Similar to sassInline task
});
What it does -
- Applies PostCSS processors to the SCSS files
- Compiles the SCSS files to CSS
- Sends the complied CSS files to the
build/css/directory
Inlining CSS #
To inline the CSS, I use gulp-inline-css. This takes an HTML document, looks at CSS being applied to the page, and inlines it to the relevant elements.
Here is the gulp task for inlining CSS -
var inlineCss = require('gulp-inline-css');

gulp.task('inlinecss', ['sassInline', 'nunjucks'], function() {
    return gulp.src('build/*.html')
        .pipe(
            inlineCss({
                applyStyleTags: false,
                removeStyleTags: false
            })
            .on('error', gutil.log)
        )
        .pipe(gulp.dest('build/'));
});
What it does -
- Waits for the
nunjucksandsassInlinegulp tasks to be completed first - Looks at the compiled HTML in the
build/directory - Inlines CSS from the
<link rel=“stylesheet”>tag only, so the embedded CSS within the<style>element remains - Replaces the file in the
build/directory with the inlined CSS file
Testing with Real Data #
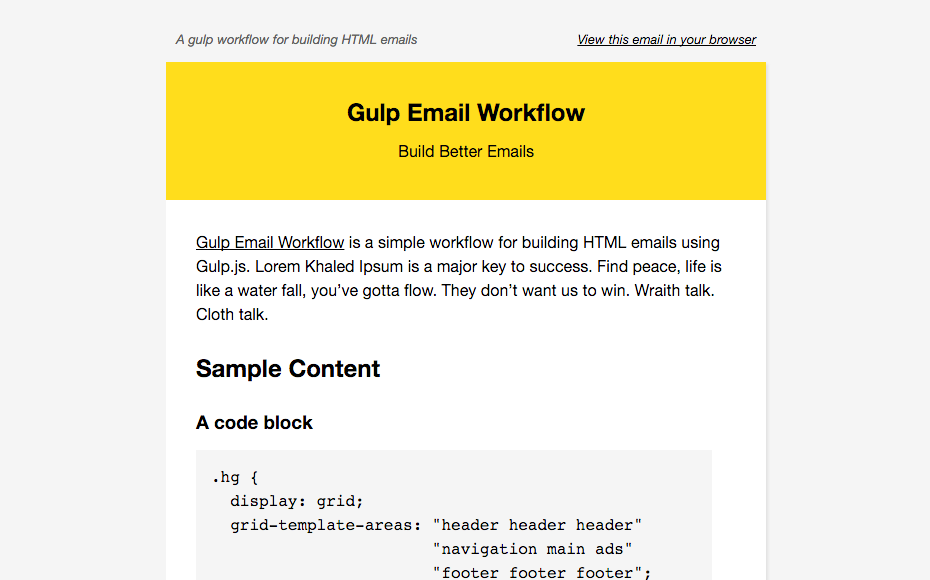
Now we have set up the various gulp tasks, we can begin writing emails. First, we need to create a template. The default template included in this workflow is mailchimp.nunjucks, which is catered to regular non-RSS MailChimp campaigns.
{% include "partials/header.nunjucks" %}
<center id="body-container">

  <!-- PREHEADER -->
  <table border="0" cellpadding="0" cellspacing="0" id="template-preheader" width="100%">
    <tr>
      <td mc:edit="preheader_left" valign="top" width="50%">
          {% block preheader %}{% endblock %}
      </td>
      <td mc:edit="preheader_right" valign="top" width="50%">
          <a href="*|ARCHIVE|*">View this email in your browser</a>
      </td>
    </tr>
  </table>

  <!-- The rest of the template here... -->

</center>
{% include "partials/footer.nunjucks" %}
To create an email based off of this template, we create a file in the emails/ directory. We use the {% extends %} syntax to specify which template to use, and then we can then write the content for any blocks included in the template.
<!-- Use mailchimp.nunjucks template -->
{% extends "mailchimp.nunjucks" %}

<!-- Apply content to the preheader block -->
{% block preheader %}
Lorem ipsum dolor sit amet
{% endblock %}
And that's it! You can get the files for the workflow from github and start creating your own HTML emails hopefully a bit more pain-free. It's still a work in progress, so if you have any questions or suggestions, leave a comment below.