Making "Blue Beanie Me"
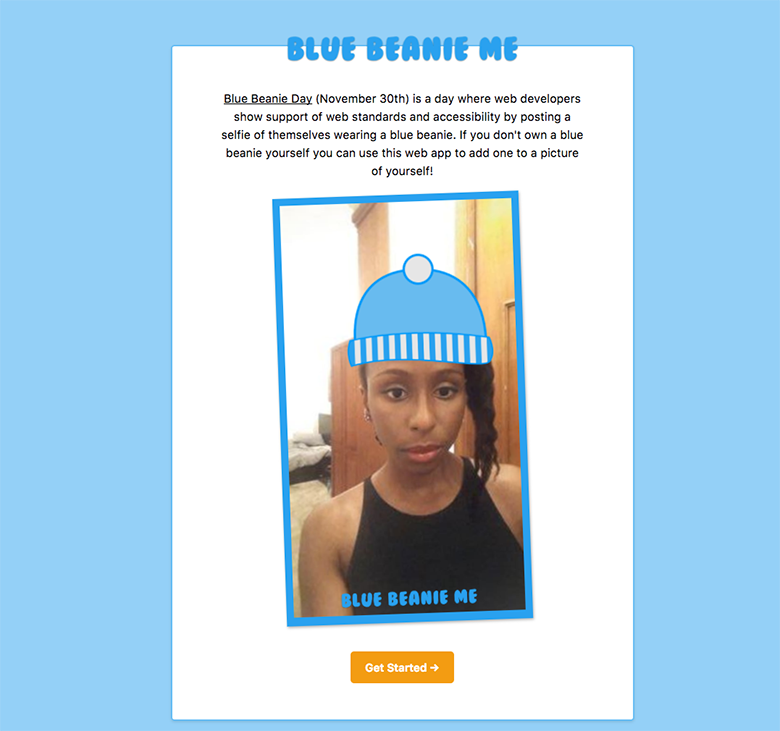
Blue Beanie Day (November 30th) is a day where web developers show support of web standards and accessibility by posting a selfie of themselves wearing a blue beanie. It was first instigated by Jeffrey Zeldman in 2006, who wrote a book about web standards and famously wears a blue beanie. Tomorrow is the 10th anniversary and I don’t own a blue beanie myself, so I decided to create a web app that will allow you to add a blue beanie to any selfie you upload.
There are many parts to how I made this application. Here, I want to focus on the most important part - how I added the blue beanie to the user's photo and created a picture they could download themselves. I did this using the Canvas API.
Canvas API 101 #
The Canvas API is a Web API for interacting with the HTML <canvas> element, enabling us to draw graphics onto it using JavaScript. In order to start drawing, we first need a <canvas> element in our document -
<canvas id="canvas" height="400" width="400"></canvas>Next, we need to create a rendering context, for example "2d", from the element.
const canvas = document.getElementById('canvas');
const ctx = canvas.getContext('2d');
Now we can start drawing on the canvas. There are many shapes and media elements we can draw onto a canvas, but for Blue Beanie Me I only made use of two - rectangles and images.
Drawing Rectangles #
To draw a rectangle with a solid colour background, we use the fillRect() method. This method accepts four arguments, which are all required -
- The x-coordinate of the upper-left corner of the rectangle
- The y-coordinate of the upper-left corner of the rectangle
- The width of the rectangle, in pixels
- The height of the rectangle, in pixels
For example, to draw a 50x50px rectangle in the top left corner of the canvas, we would write the following -
ctx.fillRect(0, 0, 50, 50);Drawing Images #
To draw an image onto a canvas, we use the drawImage() method. This method takes up to nine arguments -
- The image, canvas, or video element we want to draw on the canvas (required)
- The x coordinate where to start clipping
- The y coordinate where to start clipping
- The width of the clipped image
- The height of the clipped image
- The x coordinate where to place the image on the canvas (required)
- The y coordinate where to place the image on the canvas (required)
- The width of the image to use (stretch or reduce the image)
- The height of the image to use (stretch or reduce the image)
For example, to draw an image element, resized to 50x50px, to the top left corner of the canvas, we would write the following -
const imageElement = document.getElementById('image');
ctx.drawImage(imageElement, 0, 0, 50, 50);
Making “Blue Beanie Me” #
If you would like to see the full source code for the application, it is available on my github. Here, I will go over how I added the beanie to the user's selfie, allowed them to reposition it, then export the image.
Calculating the Size of the Beanie #
The first thing I had to do was to calculate the size that the beanie should be. I achieved this by asking the user to select two points on the image - their upper left forehead and upper right forehead (See a demo). Based on this, I was able to draw a beanie that will fit between those two points.
function drawBeanie() {

	// Draw the user uploaded image
	drawImage();

	const beanieWidth = coordinates.right.x - coordinates.left.x + 40;
	ctx.drawImage(beanie, coordinates.left.x, coordinates.left.y - beanieWidth, beanieWidth, beanieWidth);

	// Note - The beanie image is a square, which is why height is the same as width
}

function onCanvasClick(e) {

	// Determine if the user has added coords
	numberOfTimesClicked++;
	if (numberOfTimesClicked === 3) numberOfTimesClicked = 1;

	const coords = {
		x: e.offsetX,
		y: e.offsetY
	}

	// Set rectangle so user sees feedback
	addRect(coords);

	switch (numberOfTimesClicked) {
		case 1:
			setLeftCoord(coords)
			break;
		case 2:
			setRightCoord(coords)
			drawBeanie();
			break;
		default:
			break;
	}
}
Repositioning the Beanie #
To allow the user to reposition the beanie, I created a set of buttons with custom data attributes to determine direction.
<button data-direction="up" aria-label="Move Beanie Up">↑</button>
<button data-direction="left" aria-label="Move Beanie Left">←</button>
<button data-direction="down" aria-label="Move Beanie Down">↓</button>
<button data-direction="right" aria-label="Move Beanie Right">→</button>When a user clicks on one of these buttons, I shift the beanie's coordinates accordingly, and redraw the entire canvas.
function moveBeanie(e) {

	const direction = e.target.dataset.direction;

	switch(direction) {
		case 'left':
			coordinates.left.x --
			coordinates.right.x --
			break;
		case 'right':
			coordinates.left.x ++
			coordinates.right.x ++
			break;
		case 'down':
			coordinates.left.y ++
			coordinates.right.y ++
			break;
		case 'up':
			coordinates.left.y --
			coordinates.right.y --
			break;
		default:
			break;
	}

	// Redraw beanie
	drawBeanie();
}
Exporting the Image #
Finally, to allow the user to export the image, we use the canvas.toDataURL() method. This method returns a Data URI representing the image in any format and resolution we specify. By default, the returned image is a PNG at a resolution of 96 dpi.
function exportImage() {
	const canvas = document.getElementById('canvas');
	const exportedImage = canvas.toDataURL();

    // Open the image in a new window
	window.open(exportedImage);
}
That's it! You can view the full source code for the app on my github. Otherwise, make sure to use the application and don't forget why Blue Beanie Day is important. If you're interested in reading about accessibility, you can check out all my articles related to accessibility.