Using a headless browser to capture page screenshots
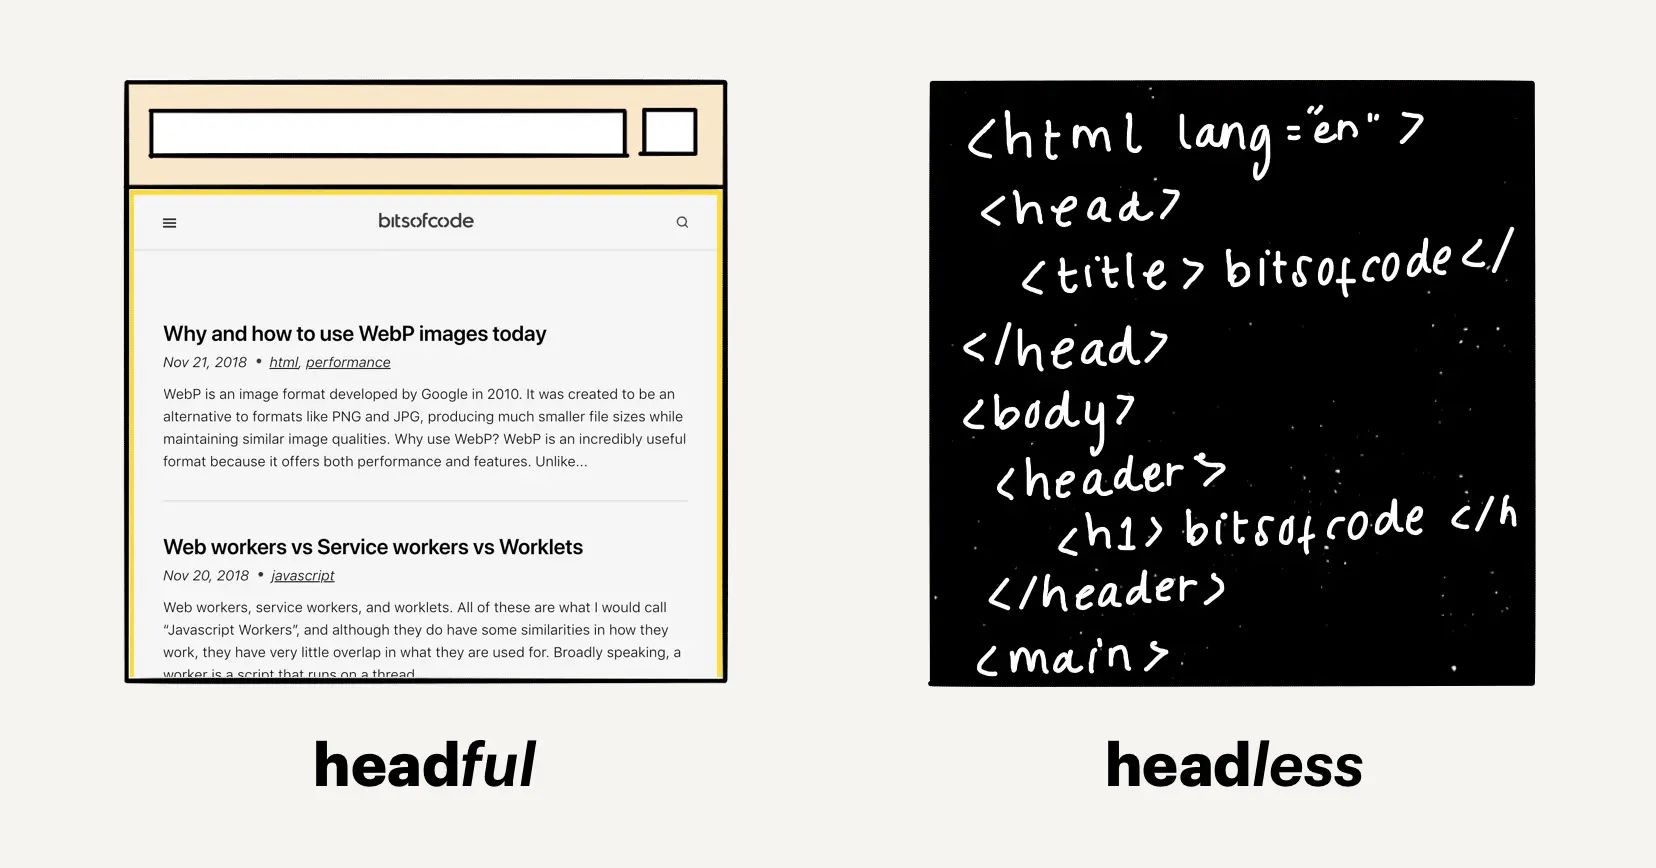
A headless browser is a browser without the graphical user interface. It is a way to navigate the web via the command line.

Headless browsers are useful for automating tests of websites as it allows us to navigate to a page and perform actions without having to manually open up a browser and click around. Another great use of headless browsers is to take screenshots of web pages dynamically.
What am I trying to achieve? #
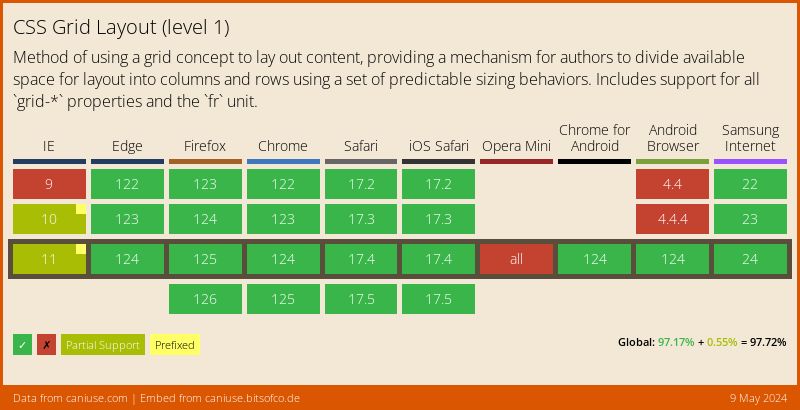
A couple of years ago, I created an embed for caniuse data of any particular feature. Here’s an example of how this looks:
In case you are interested, I wrote about how I created the embed. One thing that always bothered me about it is that was dependent on Javascript to display any data. If for whatever reason Javascript was disabled, or even if the network was slow, this is what would be displayed:

This is because, until the script generates the iframe, the embed code looks like this:
<p class="ciu_embed" data-feature="css-grid" data-periods="future_1,current,past_1,past_2" data-accessible-colours="false">
    <a href="https://caniuse.com/#feat=css-grid">Can I Use css-grid?</a>
    Data on support for the css-grid feature across the major browsers from caniuse.com.
</p>
I had been thinking about how to solve this problem for a while, and finally settled that the best solution would be to programmatically take a screenshot of the embed page using a headless browser and adding that to the fallback code.
In order to achieve this end result, I had to go through a few steps:
- Generate a screenshot of the embed page
- Create an API to handle the image generation and upload the image to Cloudinary
- Update the fallback code to include the screenshot
In this article, I will cover the first part of this solution, which is using a headless browser to create a screenshot of the page.
Headless Chrome #
Since version 59, headless Chrome has been available via the chrome command (Note: you may need to add an alias to use the command).
To get the DOM contents of a page, for example, we can use the --dump-dom flag.
chrome --headless --disable-gpu --dump-dom https://bitsofco.deTo take a screenshot, we can use the --screenshot flag instead.
chrome --headless --disable-gpu --screenshot https://bitsofco.dePuppeteer - A headless Chrome node API #
Puppeteer brings the power of headless chrome to a simple node API, enabling us to use headless chrome almost anywhere.
To take a screenshot using Puppeteer, we have to go through four steps:
- Launch the browser
- Open a new page
- Navigate to the chosen URL
- Take a screenshot
Here is how that looks:
const puppeteer = require('puppeteer');

(async () => {

  // 1. Launch the browser
  const browser = await puppeteer.launch();

  // 2. Open a new page
  const page = await browser.newPage();

  // 3. Navigate to URL
  await page.goto('https://bitsofco.de');

	// 4. Take screenshot
  await page.screenshot({path: 'screenshot.png'});

  await browser.close();
})();
This will take a screenshot of the page, https://bitsofco.de, and save a PNG file to the current directory with the name screenshot.png.
Taking a screenshot for the embed #
For my use case, I needed to take a screenshot of the embed and save it as binary data, to later be uploaded to Cloudinary (affiliate link). To do that, I had to make a few modifications to the default example from above.
Defining the browser viewport #
By default, Puppeteer will use a 800px by 600px viewport size for the browser. To change this, we can manually set the height and width of the viewport we prefer in options passed to puppeteer.launch().
const browser = await puppeteer.launch({
    defaultViewport: {
        width: 800,
        height: 500,
        isLandscape: true
    }
});
We can also set if the viewport is in landscape mode with the isLandscape boolean.
Waiting for page load #
When the embed page is initially loaded, all that exists is some text that lets the user know that the data is being fetched. When we take the screenshot, we need to make sure that the page has fully loaded.
We can specify when puppeteer will take the screenshot with options passed to page.goto().
await page.goto(
    pageUrl,
    { waitUntil: 'networkidle2' }
);
The networkidle2 value means that puppeteer will consider the page fully loaded when there are no more than 2 network connections for at least 500ms.
Removing the background #
Finally, we only want to capture the embed on the page, omitting any white background. We can do this by passing an option to the page.screenshot() method.
await page.screenshot({
    omitBackground: true
});
In my article tomorrow, I will cover the next step in solving this problem - How to upload a screenshot from Puppeteer to Cloudinary.

