How I created 488 "live images"
I've recently been going down a rabbit hole of making improvements to my CanIUse embed. To give a bit of a background, it is an interactive embed I created to easily embed data from caniuse.com in my blog posts and anywhere else. I previously wrote about how I first created the embed and how I progressively enhanced it by adding a fallback screenshot captured with puppeteer and hosted on Cloudinary.
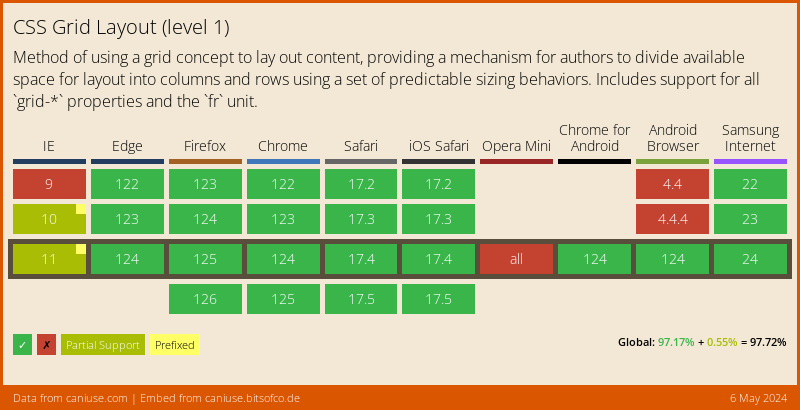
The next improvement on my path down this hole was to create what I’m calling "live images" for each feature on caniuse.com. What I wanted to do was have a URL linking to an image (hosted on Cloudinary) that I would periodically update with the support table for that feature. For example, to get the latest image of CSS Grid support, anyone could use this URL:
https://caniuse.bitsofco.de/image/css-grid.png

That image will be periodically updated (right now I’m doing once a day) and could then be used in places where Javascript is completely unsupported, e.g. Github READMEs, or just as a fallback for the full blown embed.
Since it’s also hosted on Cloudinary, any file type is supported and can be accessed on the fly, simply by changing the extension.
https://caniuse.bitsofco.de/image/css-grid.webp
https://caniuse.bitsofco.de/image/css-grid.jpeg
https://caniuse.bitsofco.de/image/css-grid.gif
Here’s how I did this!
Step 1: Capture 488 images using Puppeteer #
The first step is to create the images for the live embed, which involved capturing a screenshot of the embed page. I’ve covered in previous articles how to use puppeteer to capture a screenshot, so I won’t go over that again here.
However, there are 488 features on caniuse.com, and there is one thing to mention about trying to take 488 screenshots using Puppeteer in a row. You need to be careful about how you’re navigating to 488 different pages with Puppeteer.
At first, I was launching a new browser then attempting to to open 488 different pages on that browser.
const features = [ ... ];
const browser = await puppeteer.launch({ ... });

const screenshots = [];

for (let i = 0; i < features.length; i++) {

    // Opening a new page for each feature - didn't work
    const page = await browser.newPage();

    await page.goto(`https://caniuse.bitsofco.de/embed/index.html?feat=${features[i]}&screenshot=true`);

    screenshots.push({
        feature: feature,
        screenshot: await page.screenshot({ ... });
    });
}

await browser.close();
return screenshots;This didn’t work because, unsurprisingly, you can’t open 488 different pages on the browser. After about 12 pages, Puppeteer would crash. I was able to fix this by slightly changing this around and using the same page to navigate to the 488 different pages.
const features = [ ... ];
const browser = await puppeteer.launch({ ... });

// Open a single page for all features
const page = await browser.newPage();

const screenshots = [];

for (let i = 0; i < features.length; i++) {
    await page.goto(`https://caniuse.bitsofco.de/embed/index.html?feat=${features[i]}&screenshot=true`);

    screenshots.push({
        feature: feature,
        screenshot: await page.screenshot({ ... });
    });
}

await browser.close();
return screenshots;Step 2: Upload 488 images to Cloudinary #
I have also covered how to upload images from Puppeteer to Cloudinary in a previous article, so I won’t go into that here again. Luckily, there was no issue uploading 488 images to Cloudinary in one go, so I didn’t have to make any special considerations there.
The only thing I had to make sure I did was to make the file name of the image the exact slug as used by caniuse.com. So, for example, the slug for CSS Grid is css-grid, and that’s the file name for the image too.
I also had to ensure that any new images with that same name will override the previous image, and not just create another image. To do this, I set the file name by setting the public_id in the options passed.
const options = {
    folder: 'caniuse-embed/all',
    public_id: feature
};

cloudinary.uploader.upload_stream(options, (error, result) => {
    if (error) reject(error)
    else resolve(result);
}).end(screenshot);
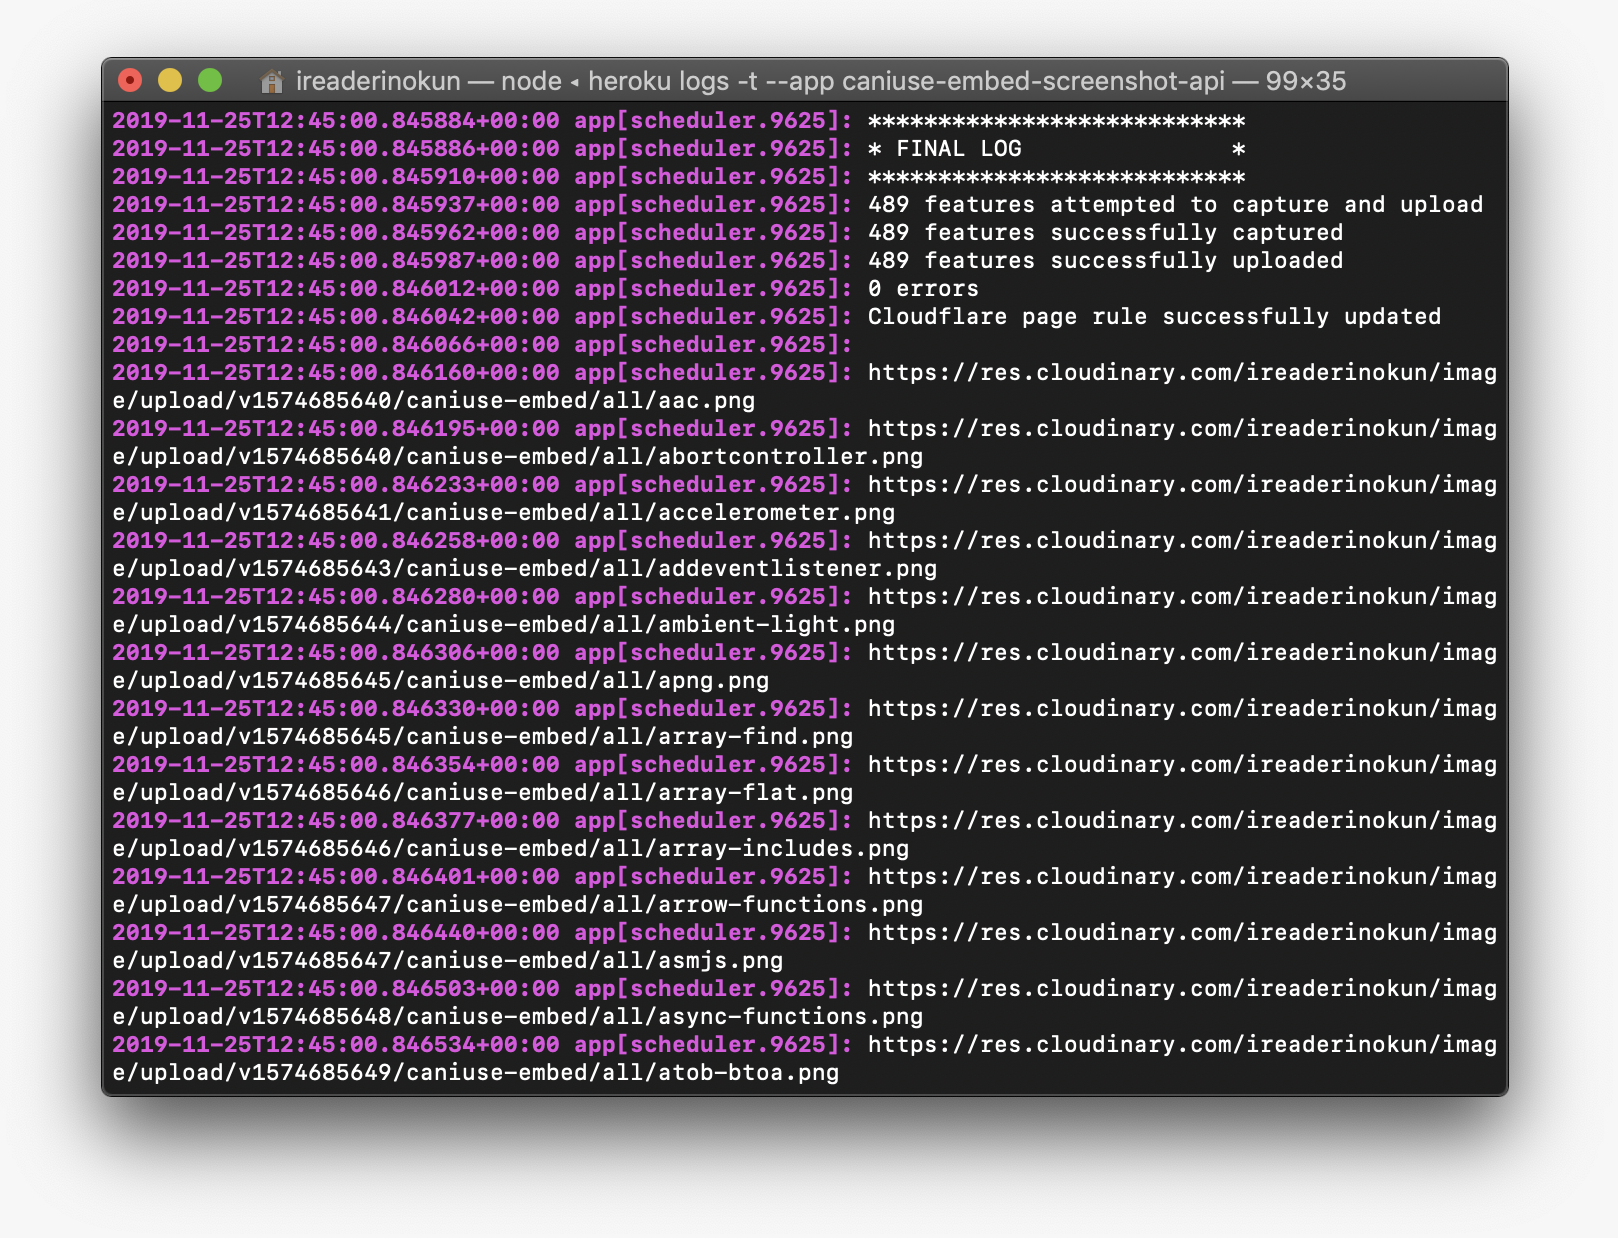
With both those things covered, I was able to capture and upload all 488 images!

One thing you may have noticed is that Cloudinary adds a version number in the URL of any uploaded image. For example, a newly uploaded image may have the following URL:
https://res.cloudinary.com/ireaderinokun/image/upload/v1574685647/caniuse-embed/all/css-grid.png
They do this to allow bypassing of a previously cached version of an image. So, if we upload an image with the exact same URL, Cloudinary can know which one to use. This, of course, presents a problem as I want to maintain the same URL for an image that will update. That’s where the next step comes in.
Step 3: Create URL redirects on Cloudflare #
This is the step that ties everything together. Because of the version numbers in the URL of Cloudinary images, I didn’t want users of the live image to use the Cloudinary image path directly. I wanted a middle-man that will allow me to control the exact path of the image used. And that’s where Cloudflare comes in.
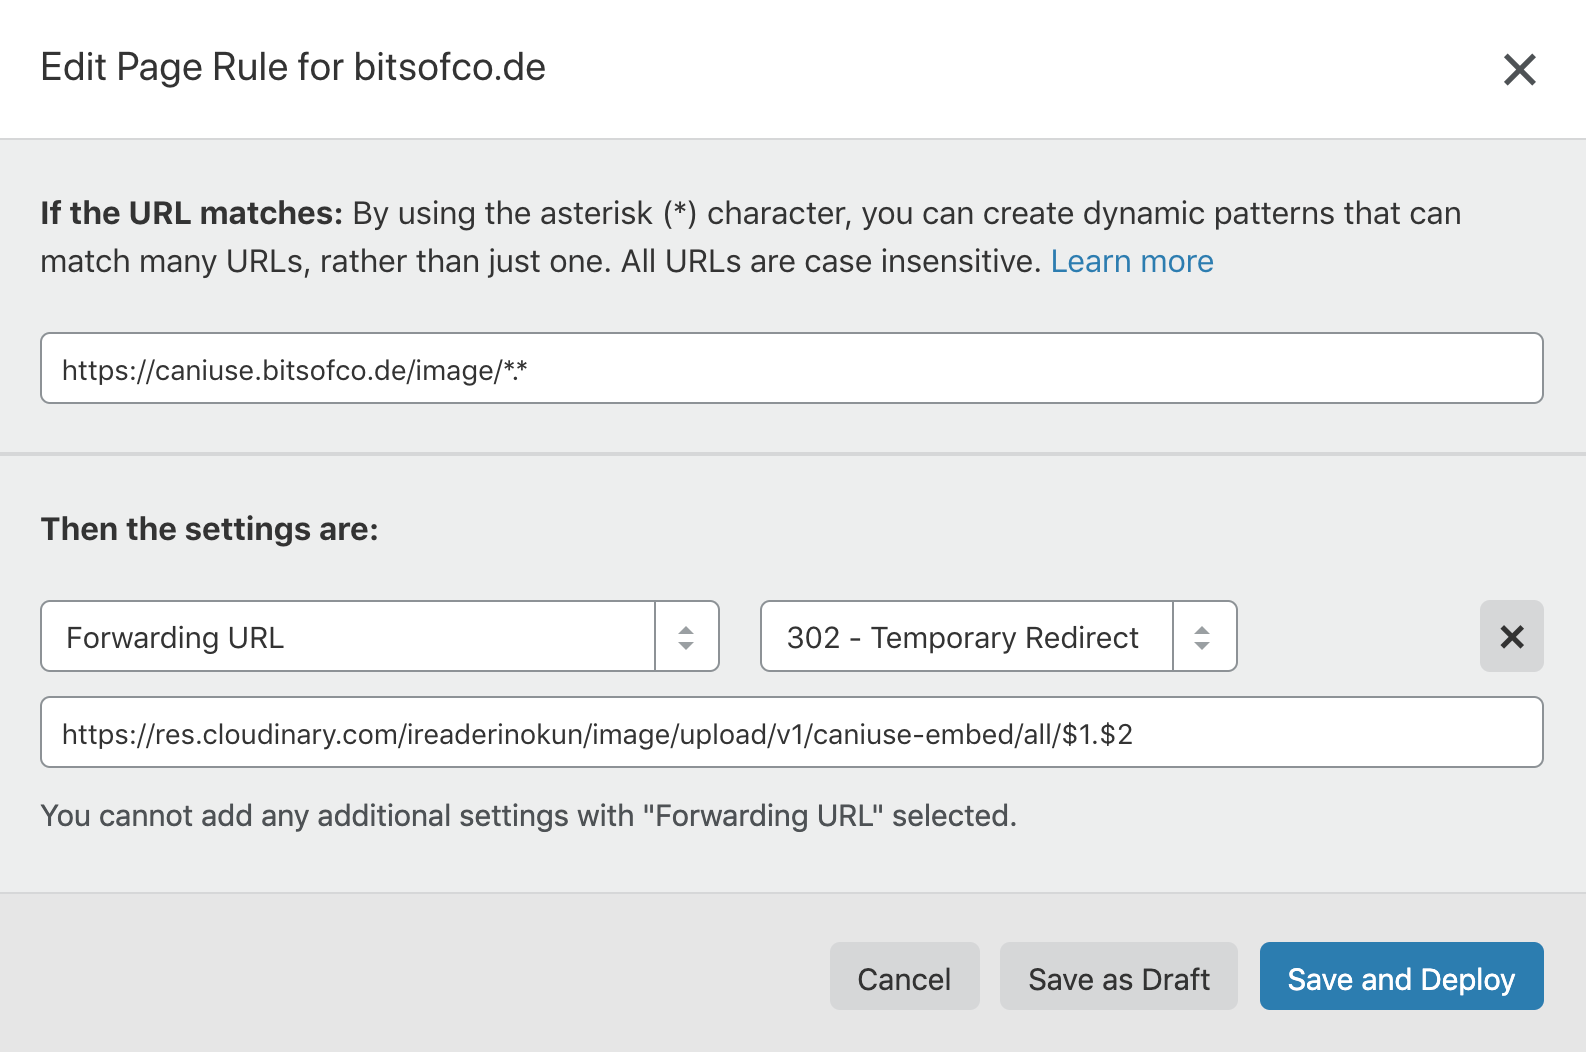
With Cloudflare, we can create Page Rules which allow us to create complex redirect paths. The Page Rule I created looks like this:

If the URL matches: caniuse.bitsofco.de/image/*.*
Forward URL (302 - Temporary Redirect) to: res.cloudinary.com/ireaderinokun/image/upload/v1/caniuse-embed/all/$1.$2
The asterisks in the incoming URL are numbered according to their position, and can be used in the forwarding URL. So, the following URL:
https://caniuse.bitsofco.de/image/css-grid.png
Will redirect to:
https://res.cloudinary.com/ireaderinokun/image/upload/v1/caniuse-embed/all/css-grid.png
The version number on Cloudinary doesn’t actually have to be the same one that was given in the upload phase, so I can use any version number I like. I just need to make sure that I change it to a different version number every time I upload new images, so Cloudinary knows to override the cache.
To do this programatically, I made use of Cloudflare’s API. They have a pretty straightforward REST API for reading or updating existing page rules. For example, to get the page rules for a given site, we would make a GET request to the following URL:
https://api.cloudflare.com/client/v4/zones/ZONE_ID/pagerules
The ZONE_ID is the ID for the site, in my case my bitsofco.de site. So, getting the page rules for bitsofco.de would look like this:
const fetch = require('node-fetch');

const url = `https://api.cloudflare.com/client/v4/zones/BITSOFCODE_ZONE_ID_HERE/pagerules`;
const options = {
    headers: {
        'Content-Type': 'application/json',
        'X-Auth-Email': process.env.CLOUDFLARE_EMAIL,
        'X-Auth-Key': process.env.CLOUDFLARE_API_KEY
    }
};

fetch(url, options);
This will return something like this:
const pageRules = [{
    id: 'bfb990382de1cfadb25b0dec7c113b27',
    priority: 3,
    status: 'active',
    targets: [{
        target: 'url',
        constraint: {
            operator: 'matches',
            value: 'caniuse.bitsofco.de/image/*.*'
        }
    }],
    actions: [{
        id: 'forwarding_url',
        value: {
            url: 'https://res.cloudinary.com/ireaderinokun/image/upload/v1574685900077/caniuse-embed/all/$1.$2',
            status_code: 302
        }
    }]
}];
To update a given page rule, we make a PUT request to the following URL:
https://api.cloudflare.com/client/v4/zones/ZONE_ID/pagerules/RULE_ID
For example:
const pageRule = { /* original page rule */ };

const url = `https://api.cloudflare.com/client/v4/zones/BITSOFCODE_ZONE_ID_HERE/pagerules/bfb990382de1cfadb25b0dec7c113b27`;
const options = {
    method: 'PUT',
    headers: { ... },
    body: JSON.stringify({
        targets: pageRule.targets,
        actions: [{
            id: pageRule.actions[0].id,
            value: {
                /* use timestamp as version number */
                url: `https://res.cloudinary.com/ireaderinokun/image/upload/v${new Date().getTime()}/caniuse-embed/all/$1.$2`,
                status_code: 302
            }
        }]
    })
};

fetch(url, options);
So now, I can update the version number in the page rule immediately after I upload the new images.
Step 4: Deploy to Heroku and Schedule Daily Job #
Finally, I needed to set everything up on Heroku so the script could be run automatically and without needing to be on my machine. I didn’t need to make any changes to my code for it to run on Heroku, but I did need to install the following buildpacks:
| Buildpack | Purpose |
|---|---|
| heroku/nodejs | Run Node |
| https://github.com/jontewks/puppeteer-heroku-buildpack.git | Puppeteer |
| https://github.com/ello/heroku-buildpack-imagemagick | For trimming the images to remove whitespace (I didn’t cover that in this article) |
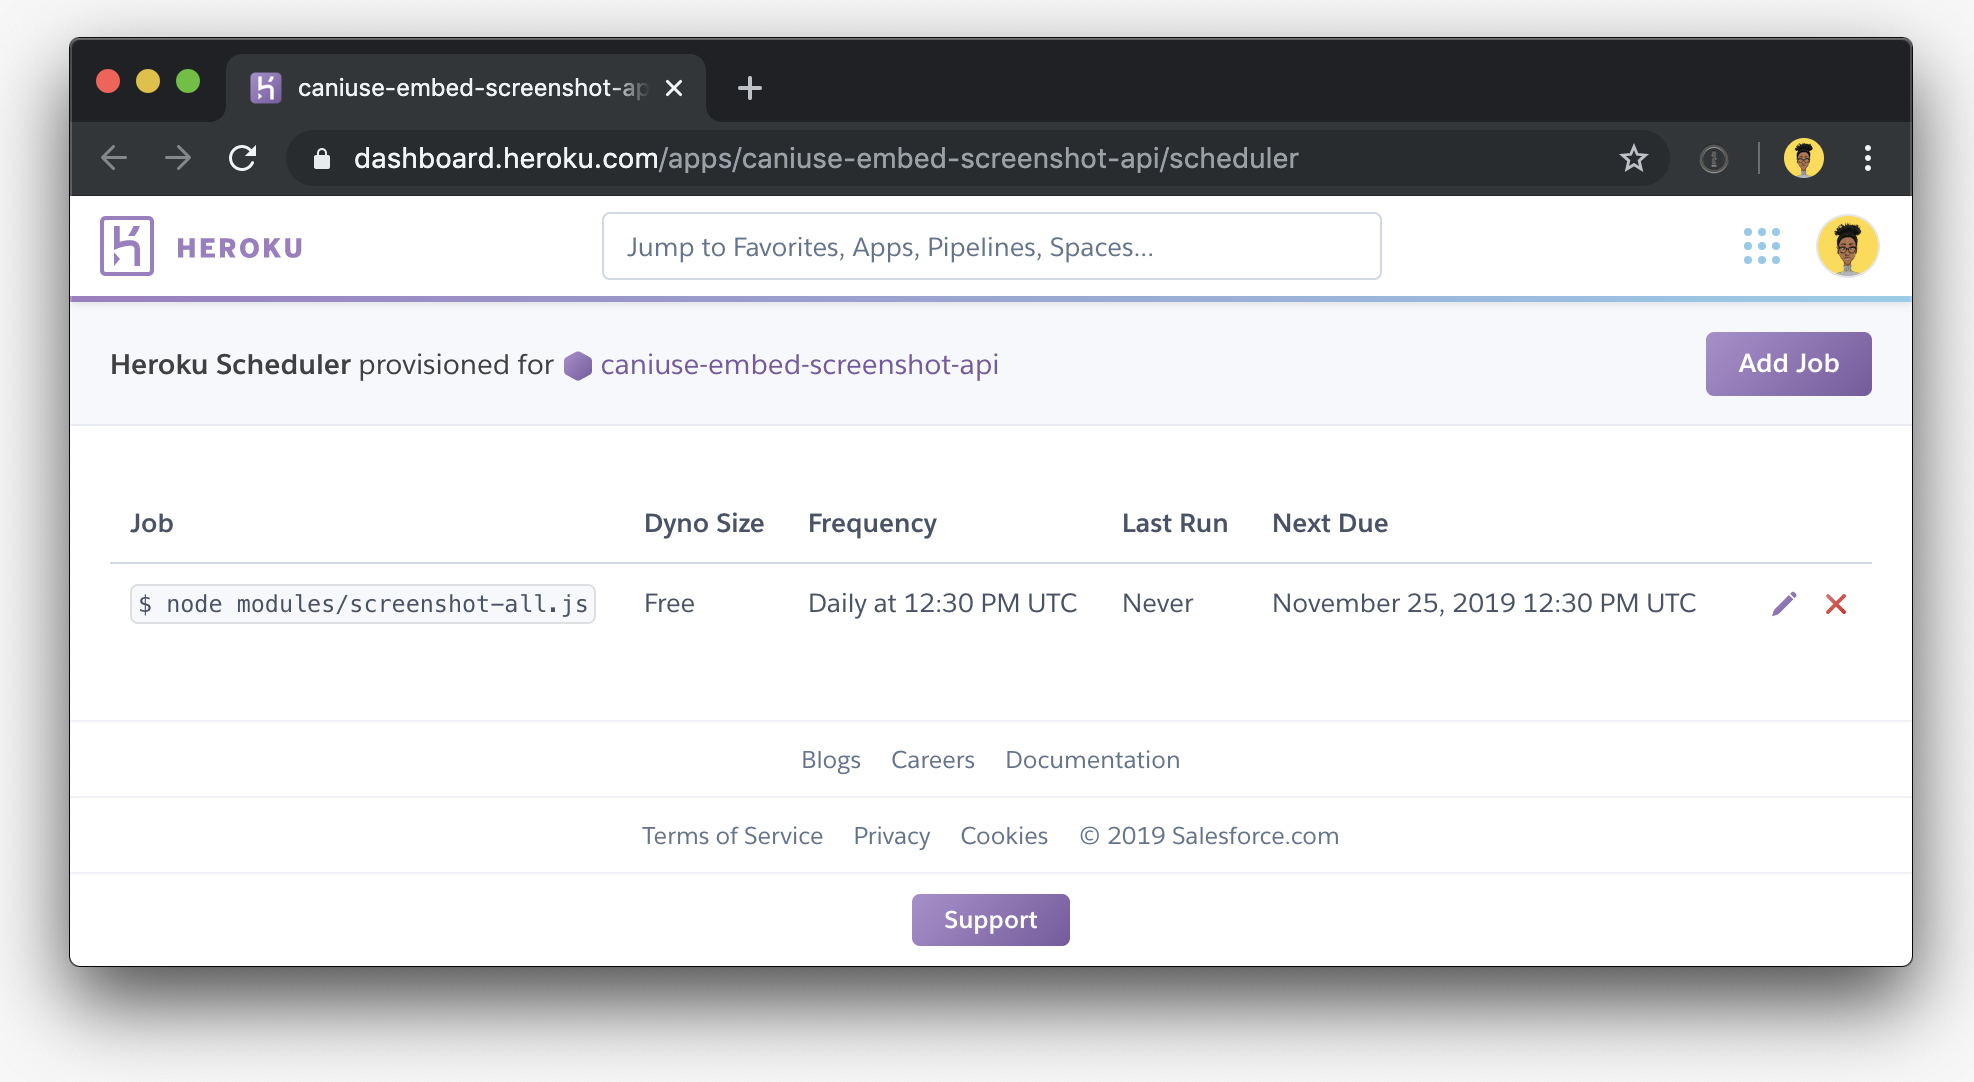
Then, I used Heroku Scheduler to schedule the script to run once each day.

And that's it! The entire project is hosted publicly on github at ireade/caniuse-embed-screenshot-api so you can see how everything works together.
I'm really happy with how it all turned out, especially being able to automate the whole process so I never need to manually do anything myself!
