Setting up a Decentralised Website (ENS + IPFS = dWeb)
One thing that I’ve been really into lately has been ENS names. As someone who’s already obsessed with buying domain names, ENS names have been an even greater obsession (mostly because of emoji names, like ✊🏾✊🏾✊🏾.eth)!
So what are ENS names, exactly? And what is a “decentralised website”?
A short intro to ENS, IPFS, and the dWeb #
Let’s start with ENS. The Ethereum Name Service is a naming system based on the Ethereum blockchain. It has a lot of parallels with the Internet’s Domain Name Service (DNS) in that both of these services are used to map human-readable names to less human-readable characters. Where DNS names map to IP addresses, ENS names can map to cryptocurrency addresses, content hashes, and other metadata.
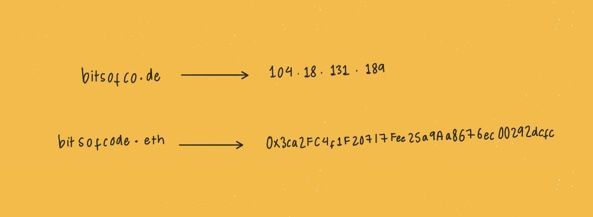
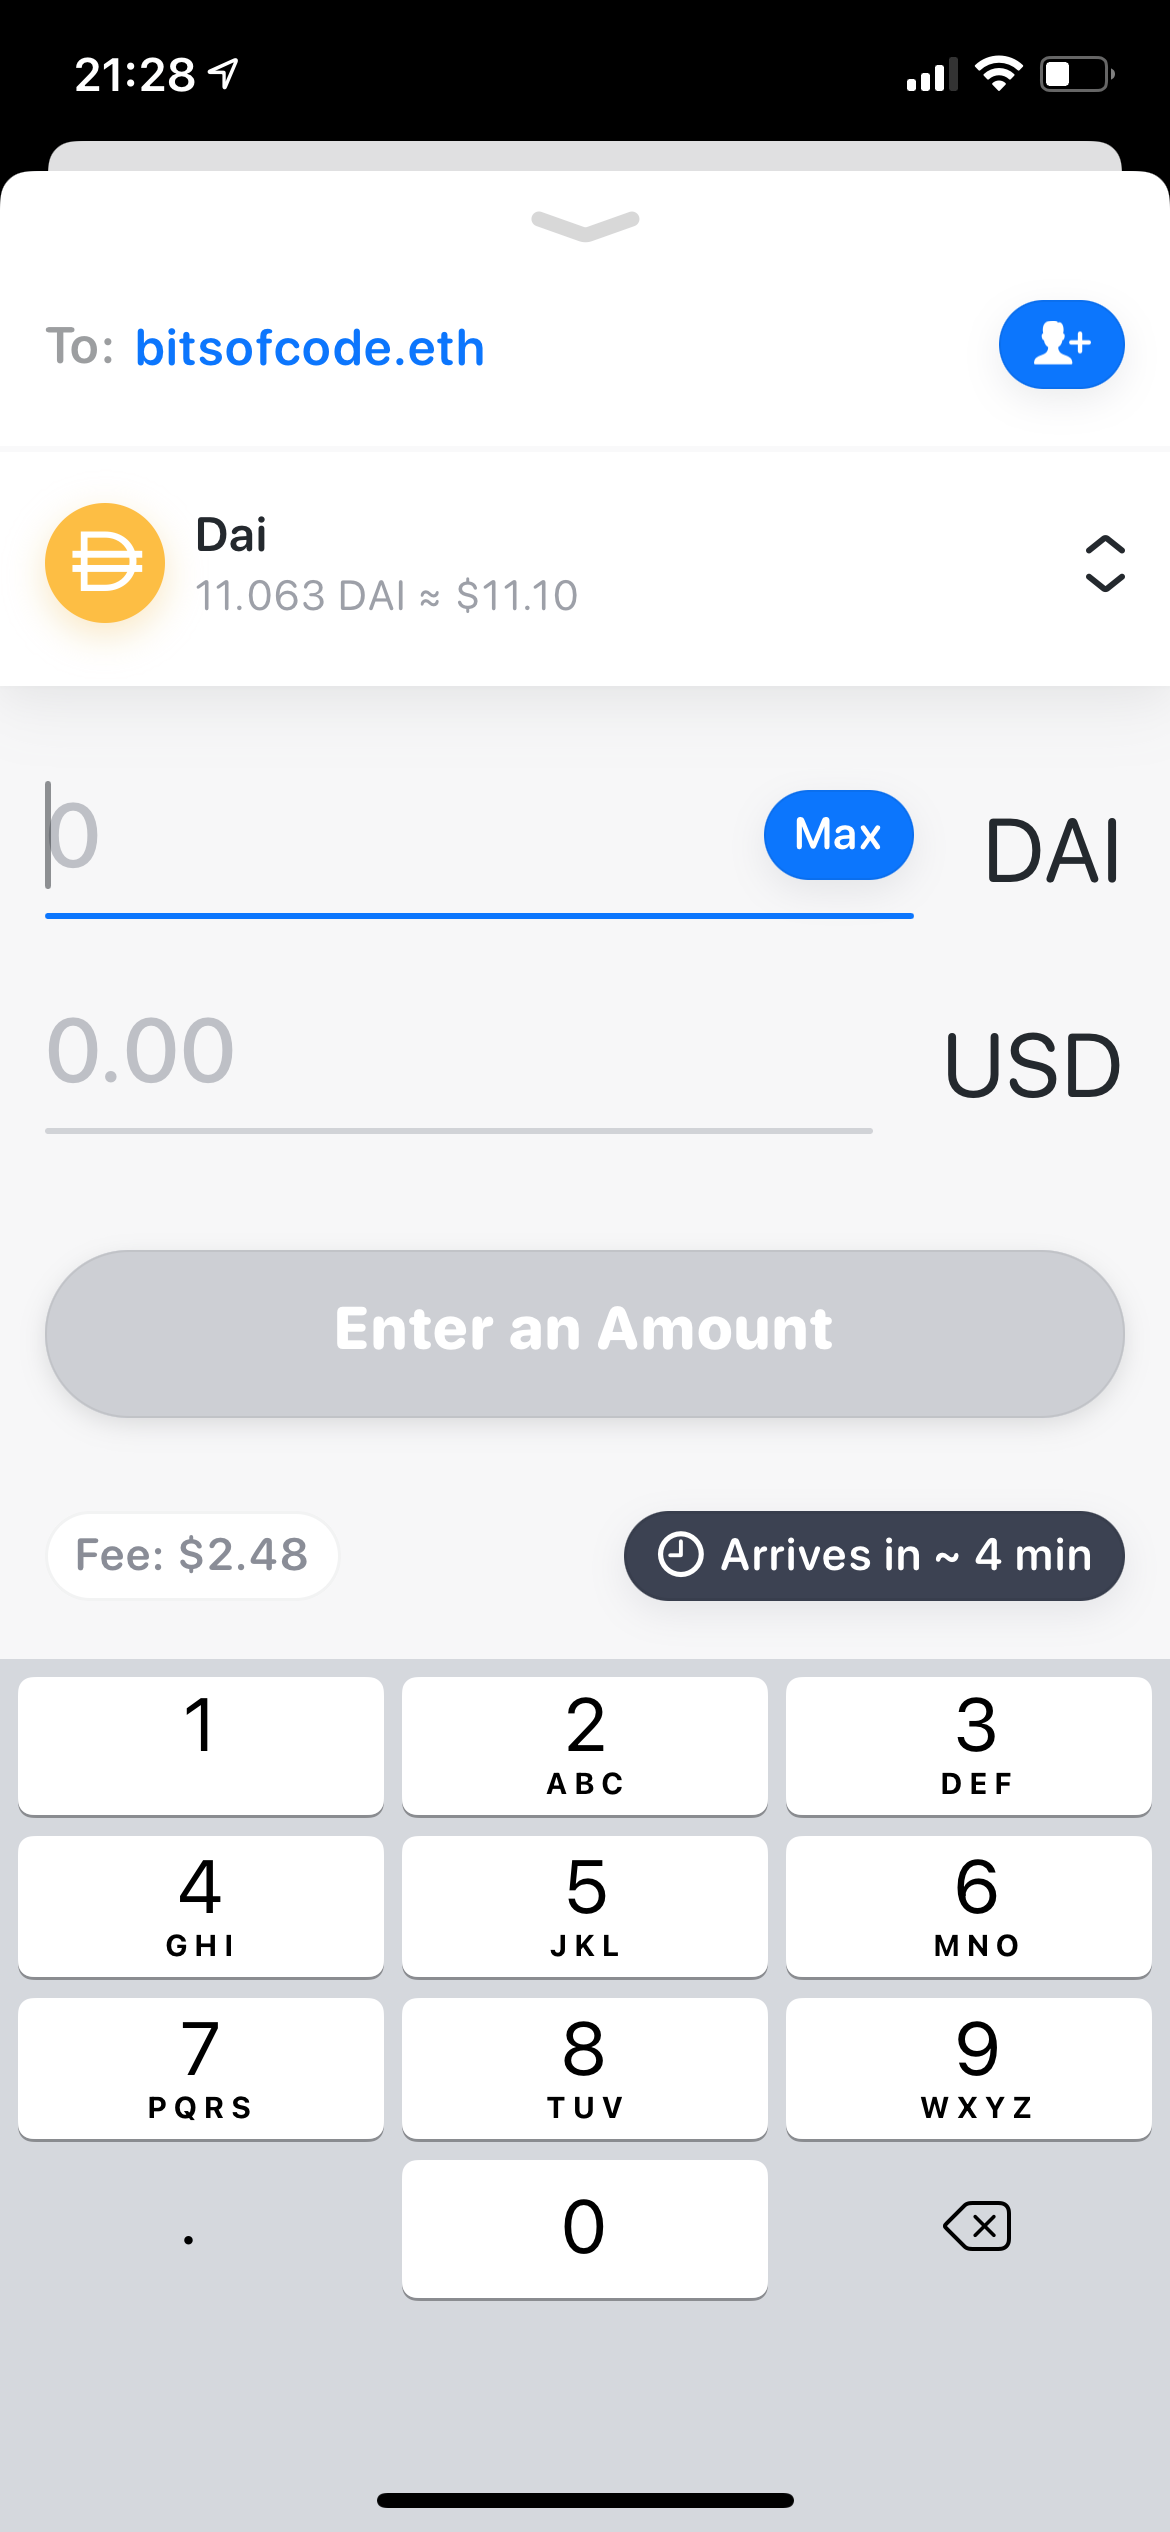
For example, I have the ENS name bitsofcode.eth, which maps to the ETH address 0x3ca2FC4f1F207178Fee25a9Aa8676ec00292dcfc. If someone (👀) wanted to send me Ether, they could simply put in the ENS name instead of copying and pasting the longer, less user friendly, address.
As I mentioned, ENS names can map on to more than just cryptocurrency addresses, and this is where the really fun part comes in. In addition to metadata like a website or twitter username, we can also map an ENS name to what’s called a content hash. A content hash, similar to an IP address, is a unique identifier for hosted content, i.e. files. However, unlike IP addresses that are based on a location where content is stored, content hashes are based on the content itself. This may not make a lot of sense now, but we’ll see how this distinction matters when we setup our dWebsite below.
So how and where do we host these files? That’s where IPFS comes in! The InterPlanetary File System is a “distributed system for storing and accessing files, websites, applications, and data”. Unlike other hosting options which have a centralised server, IPFS is ✨decentralised✨. It’s powered by a peer-to-peer network that stores and relays content as needed. If you’ve ever used BitTorrent, it’s a very similar concept.
Both ENS and IPFS together form the Decentralised Web - websites that are hosted via a decentralised system such as IPFS, and accessed via a decentralised name service such as ENS.
How to publish a dWebsite #
So how does one setup and publish a dWebsite? Well, there are four steps:
1. Build your website #
You can build a dWebsite in pretty much the same way you’d build any other website. As long as, at the end, you have a directory with all your files contained in them, you’re good.
For my bitsofcode.eth example, I decided to create a simple page that loads an iframe of the original blog.
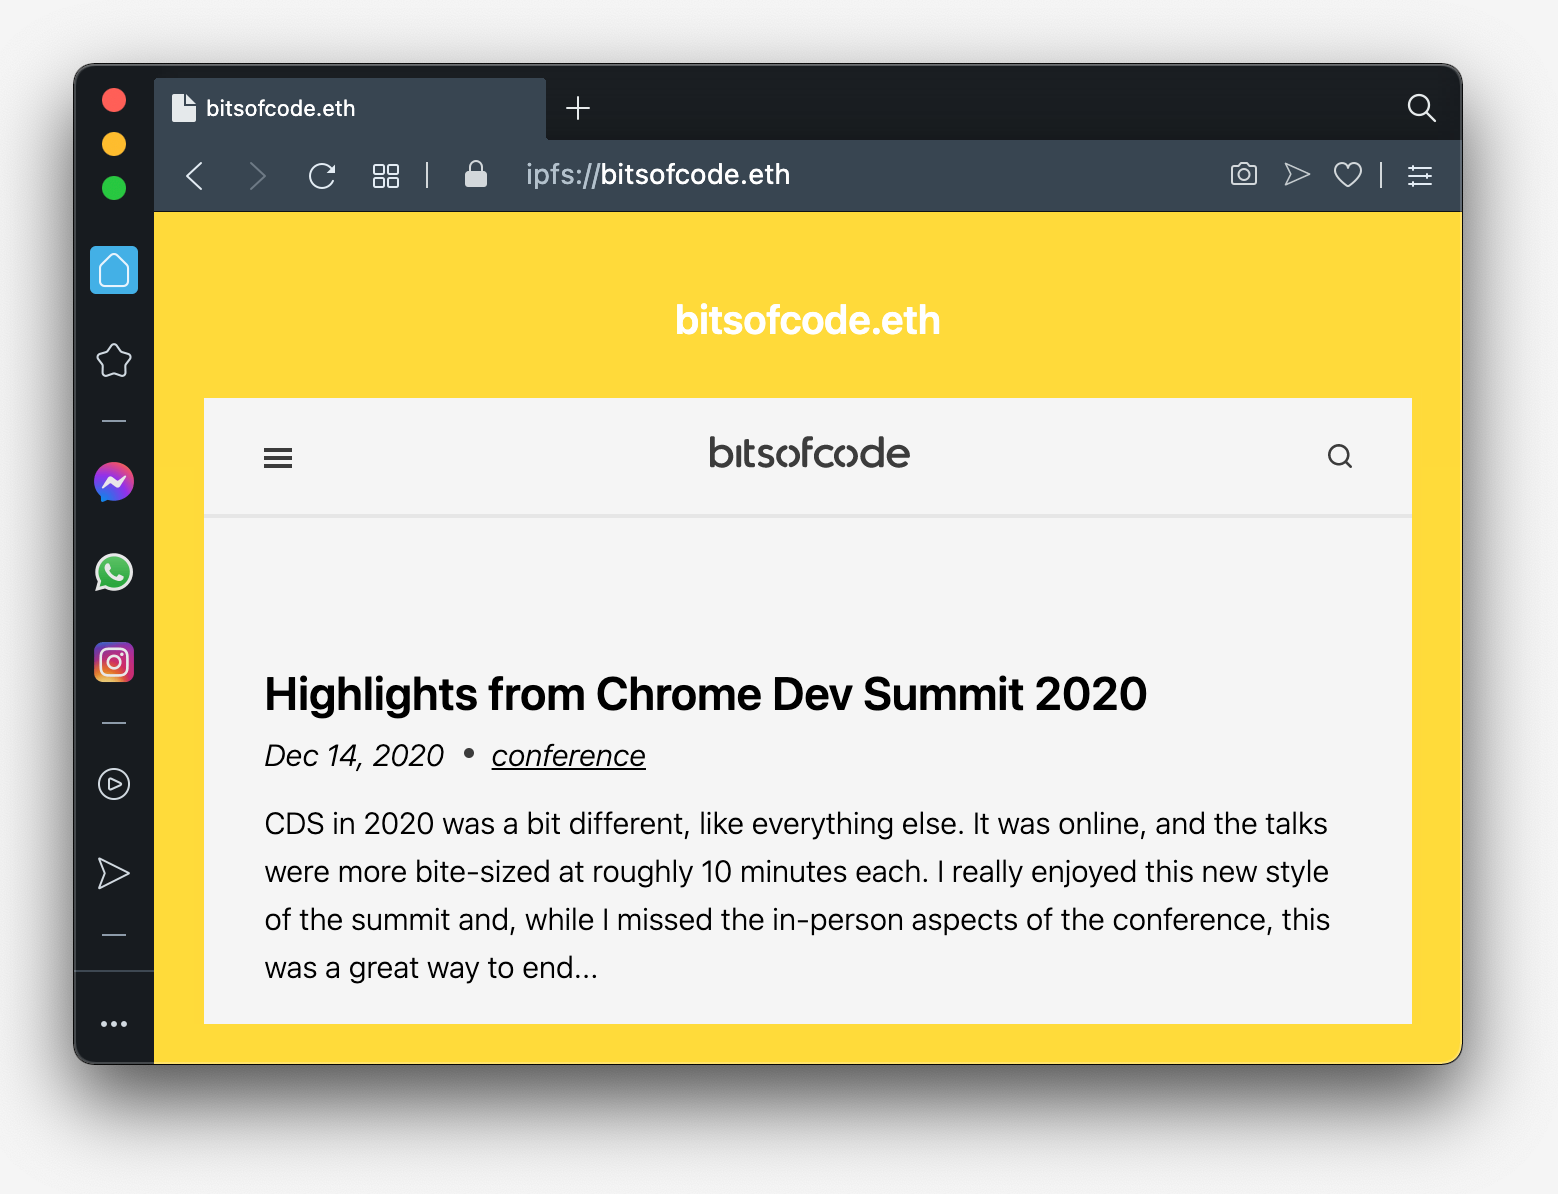
The entire website is just 3 files - 1 HTML and 2 CSS (view on GitHub).
2. Register an ENS name #
Depending on if you already have a cryptocurrency wallet (and some ETH stored in it), this may be an easy or difficult step. For an in-depth guide for how to set everything up from scratch, I suggest you read this great article on How to register an ENS name for your wallet address by Teju Adeyinka (teju.eth).
If you already have a wallet + ETH, go to ens.domains to register your .eth name.
3. Upload your files on IPFS #
Next, you’ll need to upload your website files on IPFS. I recommend using a service like Pinata, which makes this process really simple. Once you’ve uploaded your files, you’ll get an IPFS CID (Content Identifier).

The CID is a unique hash for your specific content. This is where the fact that a content hash (i.e., the CID) is based on content, not location, comes in. It means that, once you’ve uploaded your files on IPFS and get a CID for those specific files, you won’t be able to change the content of the files and retain the same CID. If the content changes, the CID changes.
4. Link your ENS name to your website #
Finally, we can connect the pieces. Going back to ENS, we now need to edit the records associated with the ENS name and add the content hash. Since we’re using IPFS to store our content, we need to add a prefix of ipfs:// before the CID from Pinata.

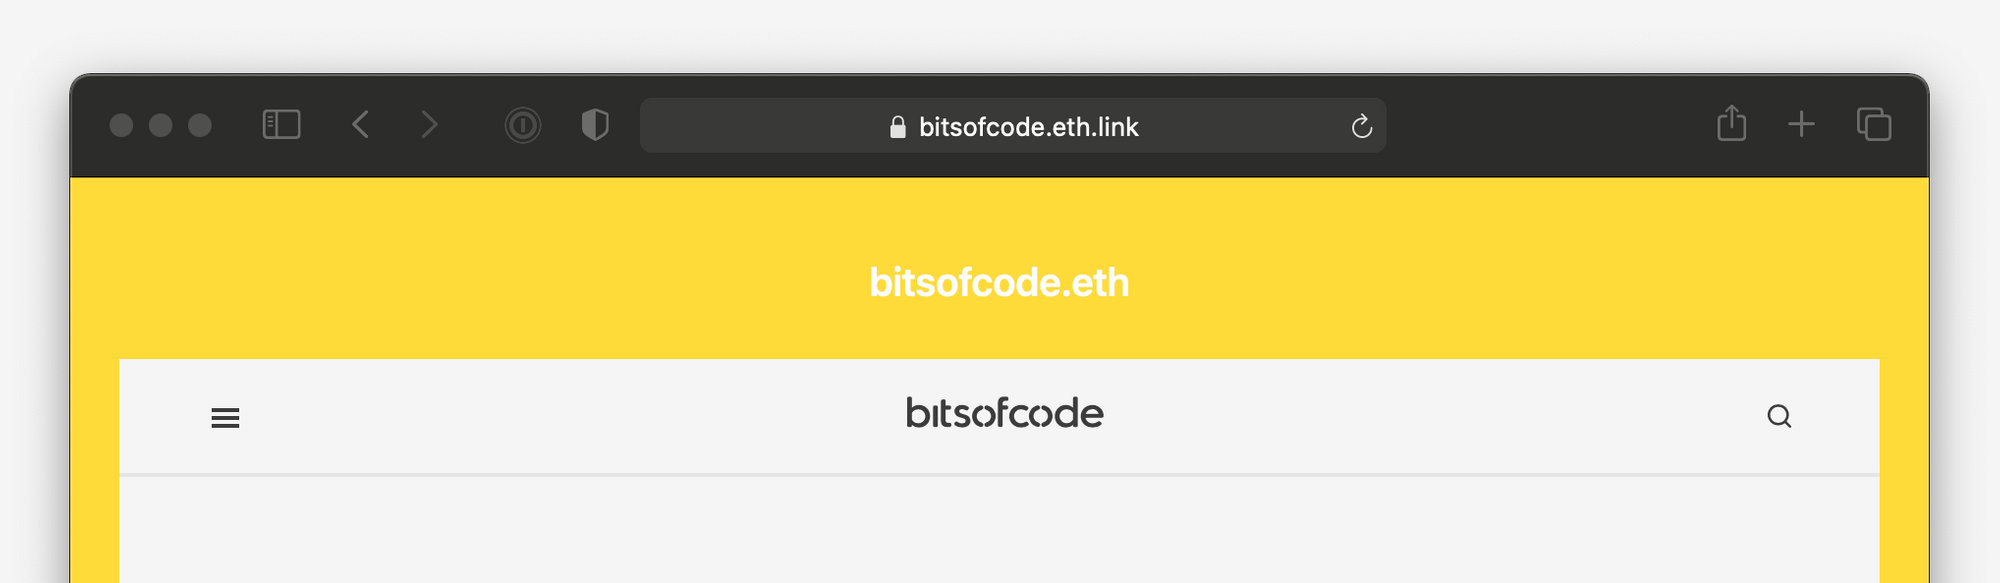
At this point, the site is now accessible via the raw ENS name in browsers like Opera or via browser extensions like Metamask. For other/all browsers, the site can be accessed by the ENS name with a .link appended, e.g. bitsofcode.eth.link.
Redirecting an ENS name to an existing website #
Given the limitations of not being able to update the content of a site hosted on IPFS without also changing the content hash, you may want to just redirect your ENS name to an existing website hosted elsewhere. This is the approach I took for my personal website, ireaderinokun.com, and my personal ENS name, ire.eth.
To do this, we need to replace step 1 of “building our dWebsite”, with a simple webpage that redirects to the existing website of our choice. Here’s an example of what that page could look like:
<!DOCTYPE html>
<html lang="en" dir="ltr">
    <head>
        <meta charset="utf-8">
        <title>ire.eth</title>

        <script>
            window.location.href = "https://ireaderinokun.com"
        </script>
    </head>
</html>
All the other steps remain the same.
Now, if you visit ire.eth, you’ll be automatically redirected to ireaderinokun.com! 🚀